Using the Cool Timeline Plugin, instead of showing your posts in the usual blog list or grid style, you can show them in a visually appealing timeline format. Not only blogs, but you can also display other post types like news updates, project milestones, product releases, or event stories.
What is Post Timeline?
A Post Timeline is a timeline created using your WordPress posts. It automatically collects your posts and displays them in a timeline format, either vertically or horizontally.
Imagine you run a small startup and regularly publish updates like, new product launches, team milestones, and feature releases. Over time, your website’s “Blog” page becomes long and cluttered. Visitors have to scroll through many posts to understand how your company has grown.
By using Post Timeline, you can automatically organize all these posts in a timeline format. Now, visitors can easily scroll through your company’s history timeline, seeing posts like “Product Launch”, “Version 2.0 Released”, and “New Office Opened” in a vertical or horizontal layout. This makes your content easier to explore, and interactive.
Follow the steps below to add post timeline stories using Cool Timeline:
Add Post Timeline in Classic Editor
If you are using the Classic Editor, follow these steps to add a Post Timeline:
- Open your page/post in Classic Editor.
- Click on the Add Timeline button in the toolbar (as shown in the editor screenshot).
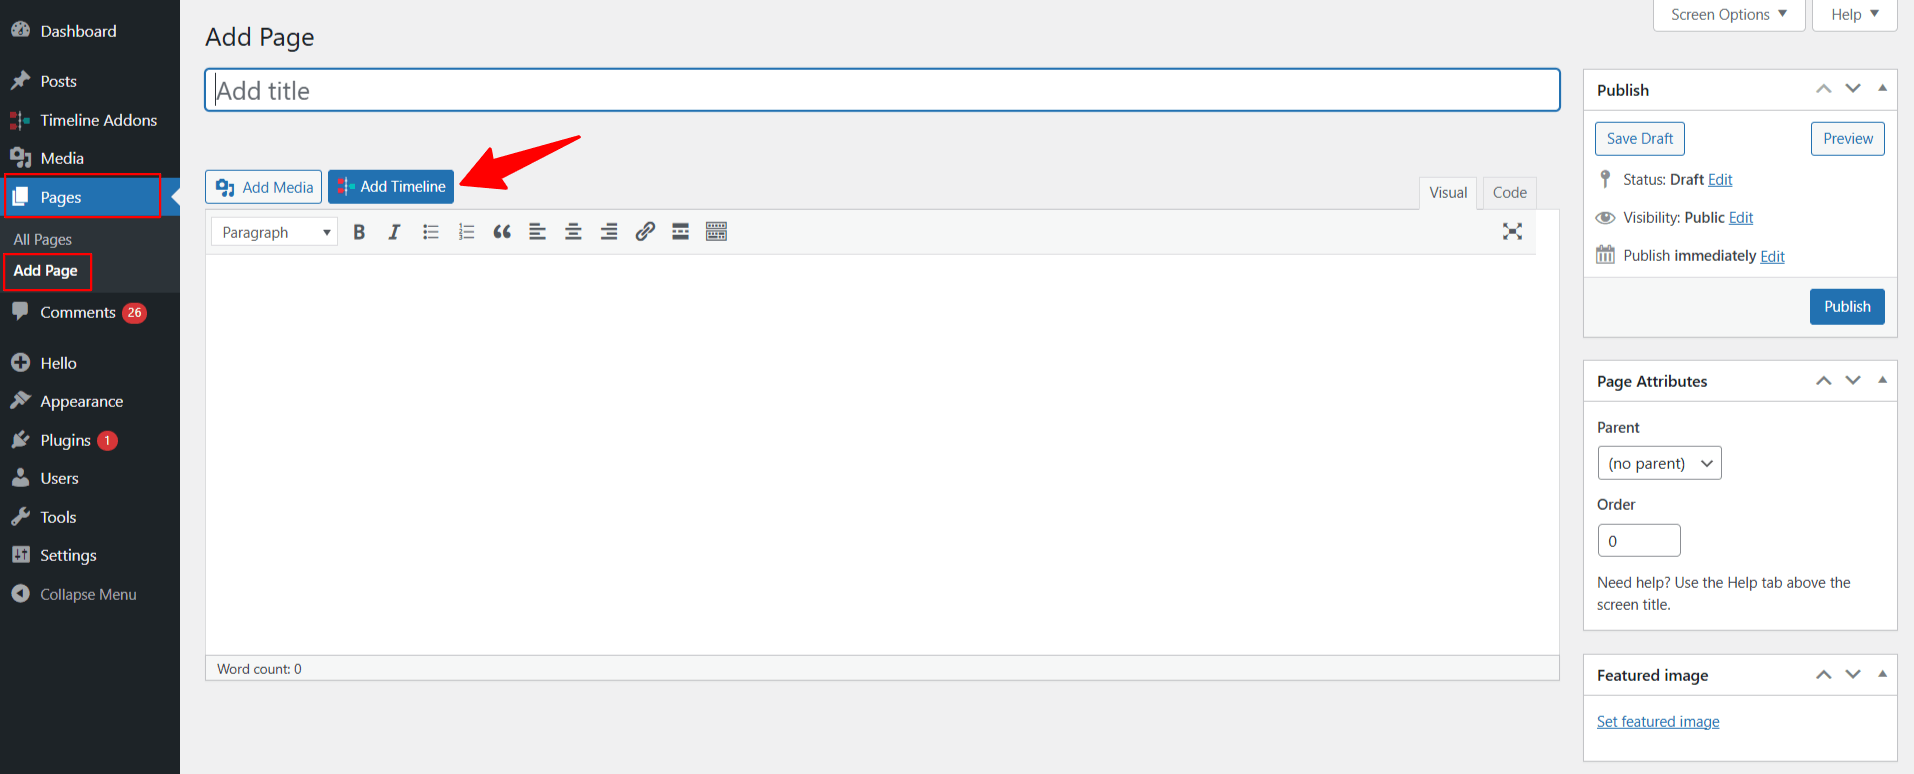
- A pop-up will appear with the available timeline settings.
- From the top select box option, choose the Post Timeline.
- Configure the timeline according to your requirements.
- Once you are satisfied with the settings, click Insert Shortcode.
The post timeline shortcode will now be added to your page or post.
Add Post Timeline in Gutenberg
If you are using the Gutenberg, follow these steps to add a Post Timeline:
- Open any page or post in the Gutenberg editor.
- Click on the “+” Add Block button.

- Search for “Timeline” and select the Post Timeline Shortcode.
- The shortcode will be added to your page.
- After satisfied with all the customizations, you can publish your page and preview it.