Before you start creating vertical or horizontal timelines using Cool Timeline, you first need to add timeline stories.
Each story represents an individual event or milestone that will appear on your timeline.
Follow the steps below to start adding your timeline stories:
Add Story Content
- From your WordPress dashboard, go to Timeline Addons > Add Story.

- Enter the Story Title and Description, this is the content that will appear on your timeline.
- Upload a Featured Image that visually represents your story and assign a category to your timeline story.
Timeline Story Settings
From the “Timeline Story Settings,” you can customize your timeline stories:

- Story Type: Choose whether you want to showcase date-based stories or custom order-based (AD/BC) timeline.
- Story Media: Choose to display an image, video, or slideshow for your timeline story and set the media size according to your preferences.
- Story Icon: Choose the icon type for your timeline stories.
- Extra Settings: Add the custom story link and set the color for your story.
Custom Order Based Story
If you want to use custom labels instead of dates for events, such as process steps or historical periods like AD/BC, then follow the steps below:
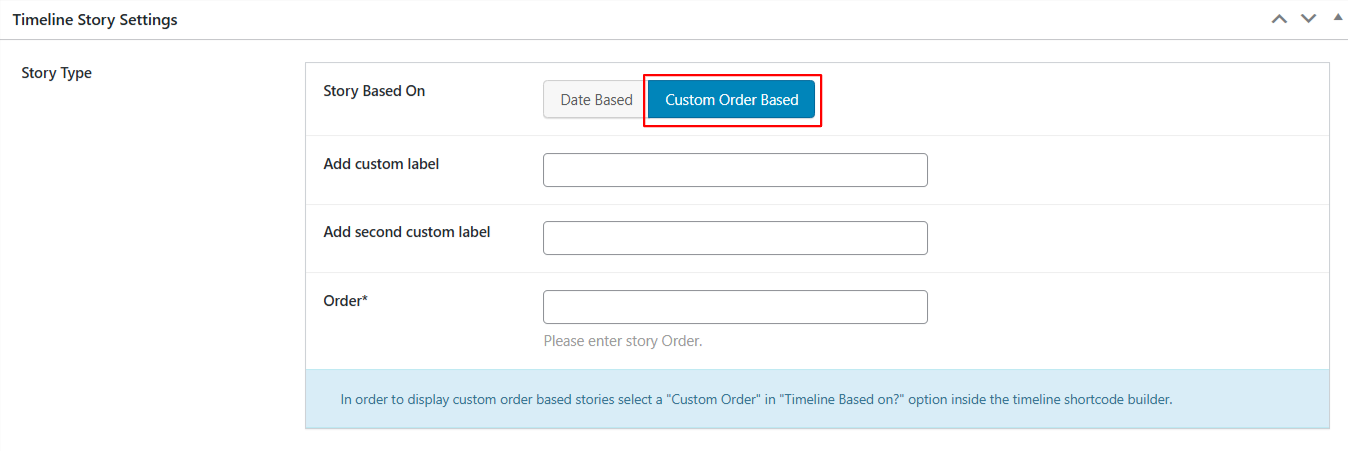
- From Story Type under Timeline Story Settings, select Custom Order Based.
- Add a custom label to display on your timeline (like: Phase 2, Launch, or 1302 BC).
- Specify the Order Number for your timeline story.
- After satisfied with the changes, publish the Story.
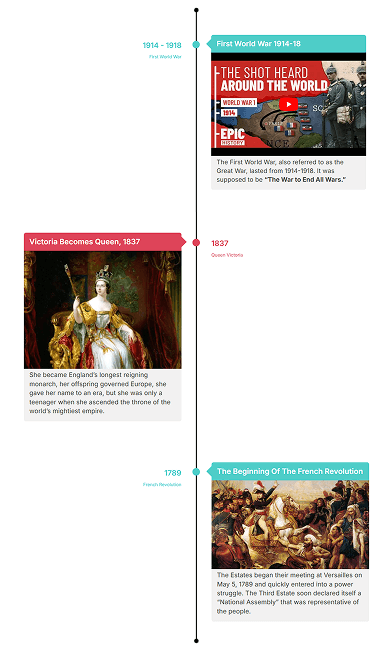
Output