Q1: How to create a timeline of existing posts?
Ans: To create a timeline of your existing posts with Cool Timeline Pro:
- In the WordPress dashboard, go to Pages > Add New (or edit an existing page).
- Insert the “Timeline Shortcode” block.
- From the shortcode options, switch to the “Post Timeline” source so that the timeline displays your published posts.
- If you want to display posts from a particular post type or category, specify the post-type and category filters accordingly.
Once done, publish or update the page, your existing posts will now appear in timeline format automatically.
Q2: How to create a timeline of stories before the year 1000?
Ans: To create a timeline of stories before the year 1000, you can use the Custom Order-Based story option. While adding a new story, choose the custom order-based setting and enter any date earlier than 1000 inside the custom label field.
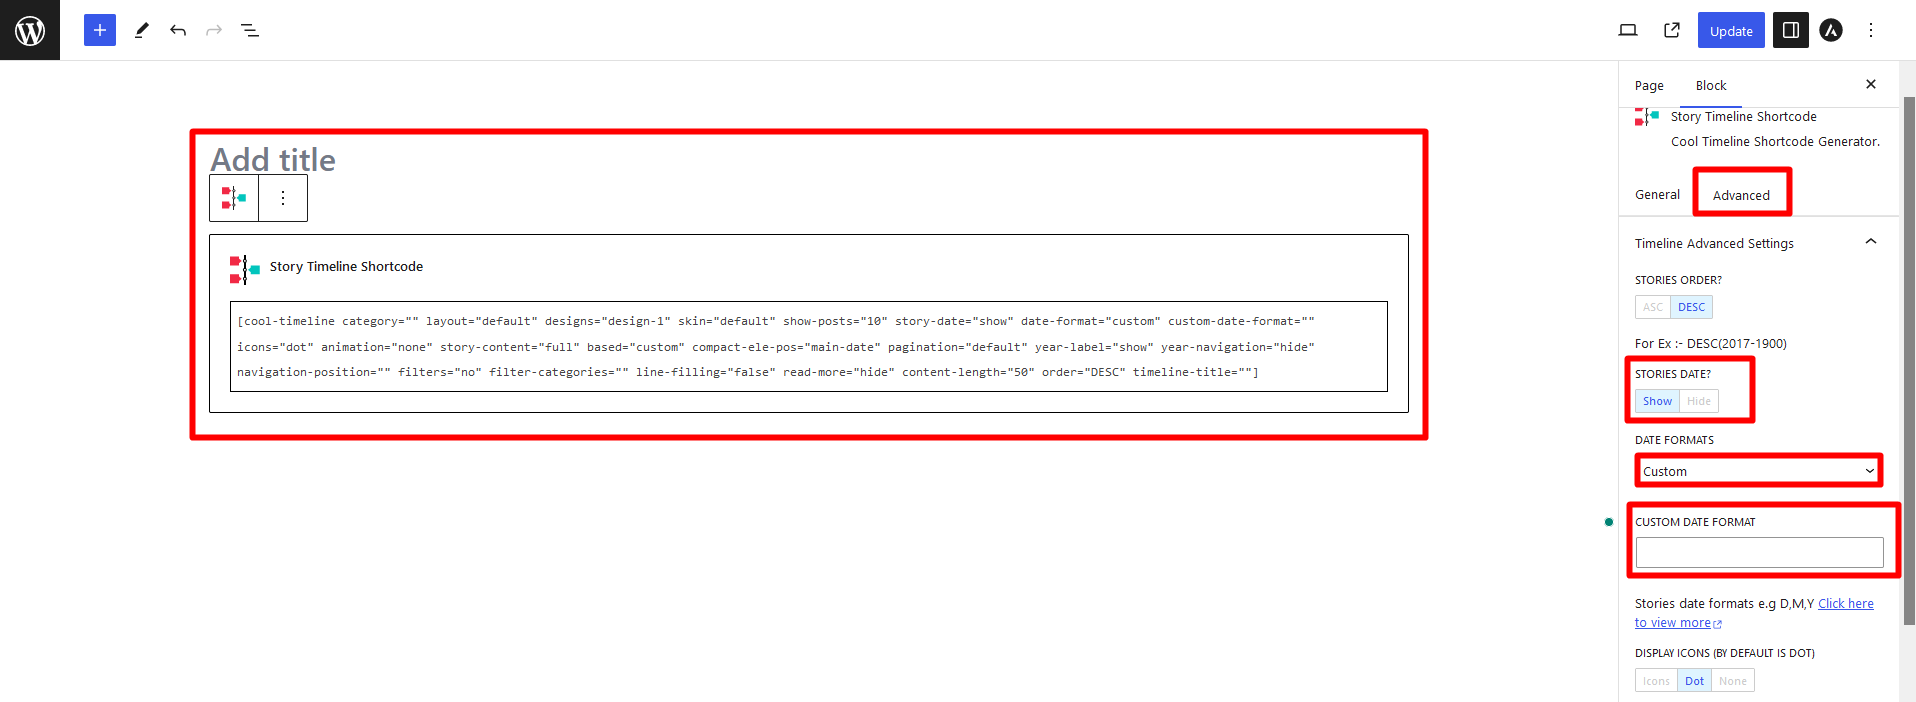
Q3: What is the Custom Date format?
Ans: A Custom Date Format allows you to display story dates in your own preferred style instead of using the default date formats provided by Cool Timeline Pro.
Instead of selecting a date style from the dropdown menu, you can manually enter your own date format. To set this up, go to Story Timeline Shortcode > Advanced. From here, set the Stories Date option to Show, and then from Date Format select Custom, and then enter your preferred format in the Custom Date Format field.