You can easily add a timeline inside Elementor via a simple shortcode. Even though Elementor doesn’t include a dedicated timeline widget by default, but Cool Timeline allows you to display timelines anywhere in your Elementor pages by pasting a shortcode.
Follow these steps to add your timeline in an Elementor page:
- In your WordPress dashboard, go to Pages > Add New or open an existing page.
- You can use either the Classic Editor or the Gutenberg Block Editor to generate the customized timeline shortcode.
- Once your shortcode is ready, copy it.
- Next, open your page with Elementor where you want to display your timeline.
- From the widgets section, search for the Shortcode widget.
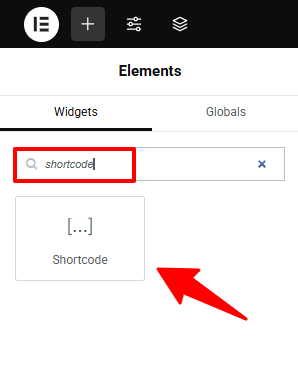
- Drag and drop it to the section where you want your timeline to appear.
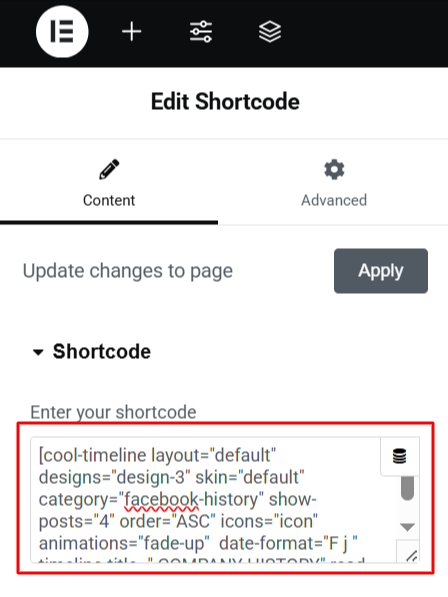
- Paste your copied timeline shortcode into the widget’s input box. Click Apply.
- Timeline will be added to your page.
- Lastly, Publish your page and preview it.
Timeline Widget Pro for Elementor
With Cool Timeline, you can create stories separately in the WordPress dashboard and then insert them into Elementor using a shortcode. While this method is reliable, but it involves switching between two editors: the WordPress editor (Classic or Gutenberg) for shortcode generation and the Elementor editor for page design.
Timeline Widget Pro plugin works directly inside Elementor. Instead of switching between editors, you can simply drag the Timeline widget onto your page and start customizing it within Elementor. Learn More.